Detail
[review]Kase Filters Variable Density Filter Review by MATT HOLLAND
- Categories:News
- Author:
- Origin:review
- Time of issue:2019-05-04 19:51
- Views:
(Summary description)
[review]Kase Filters Variable Density Filter Review by MATT HOLLAND
(Summary description)
- Categories:News
- Author:
- Origin:review
- Time of issue:2019-05-04 19:51
- Views:
WHAT DOES KASE FILTERS SAY:
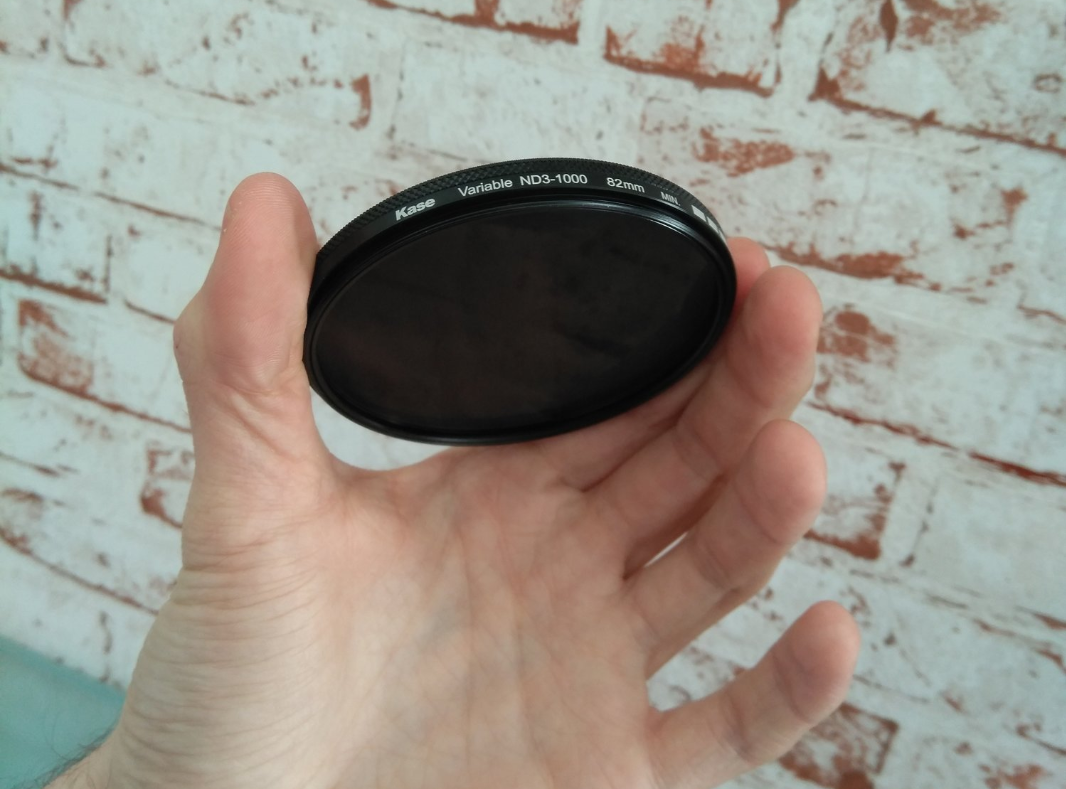
Kase variable ND3-1000 filters are made of optical glass and polarising mold, which can reduce the light amount by resisting the light fibre from the double sides of the filters.
Available Size: 77/82mm
Glass Material: B270 optics Glass+ Nitto polarising film
Frame Material: 6063 aluminium alloy
Feature: ND3-1000 step-less variable light reduction
Waterproof, Antifoiling and Scratch Resistant":
The double-sided film layer is waterproof, oil-proof and anti-fouling. Withstand 8HD hardness impact, with good scratch resistance performance.
Low Colour Cast:
The optical glass with nano coating can block the light fiber and then reducing the light amount, moreover, it brights you the real colour of the filters’ mold. That’s why it can reduce the post-processing even with long exposures.
WHAT IS A VARIABLE DENSITY FILTER AND THE COMMON ISSUES?
To put it simply, if you don’t know what a variable density filter is. A Variable neutral density filter controls the amount of light that enters the camera through two pieces of glass, these pieces of glass are two polarising filters which are often not as strong as a traditional polarising filter.
You will typically use a variable density filter because of convenience and speed which is useful from a videographers perspective where you will be filming and going through mixed light and you don’t want to keep changing fixed neutral density filters. As with video you will be at a fix shutter speed such as 1/50th 1/60th or 1/120th second and to keep a shallow depth of field to keep the background out of focus in bright conditions, most noticeably outdoors you will need to use a filter to keep you stopped down to f/2.8 for example and shooting 1/50th second for 24p.
When it comes to stills/photographs this speed and fixed controls are a lot more flexible. As you won’t be fixed at 1/50th second to keep your frame rates accurate and cause the video to jitter.
The major obvious feature between the two style of filters, a variable density filter is thicker than fixed density filters. This is because the variable filter uses two pieces of glass rather than one. For this reason, many landscape photographers will prefer to use fixed density filters as more glass in front of the lens can make things softer. Because of the depth of variable filters they can cause vignetting on wider angle lens where the edges are creeping in to shot.
Another reason why a photographer may not want to use a variable density filter is, at higher densities ND600–1000 or ‘Max’ you will see black spots appear in the corners or a “X” across your photo, this is where the two plains of the polariser are meeting to darken the image and causes what is called artefacts. Using a variable density filter when looking at digital screens can cause artefacts too and a rainbow effect will appear in the screen. Another issue when it comes to variable density filters and stills, when rotating the filter it can change the colour balance as the two polarisers rotate.
That sounds like a lot of issues eh? So, why on earth would you use such a filter!
As I mentioned above, the variable density filter has huge benefits for videographers and vloggers. I often use a variable density filter for videos as the speed to change this filter by simply rotating slightly, enables me to keep my f-stop at f/2.8, ISO 100 and frame rate/shutter speed at 1/25th for 24p and continue to film without having to cut, change filters or adjust the aperture which saves a lot of time and editing and keeps that shallow depth of field despite bright conditions in the outdoors.
If I were to use fixed densities you would have to stop filming, take off the filter, put a new one on, start filming again. If you’re working with models/actors you are a clock so time is money and wasting time to change a filter here can be expensive. This is before we’ve even reached post production! I think you get the idea in how that will end up if you had to keep stopping. A lot of cutting and merging clips rather than one single sequence.
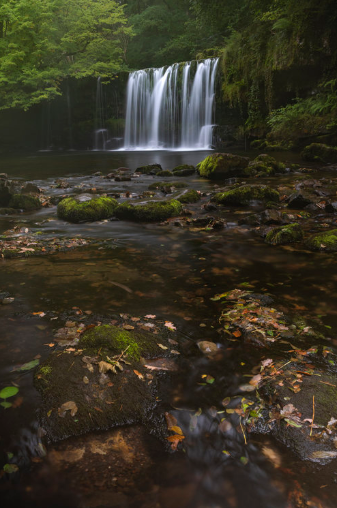
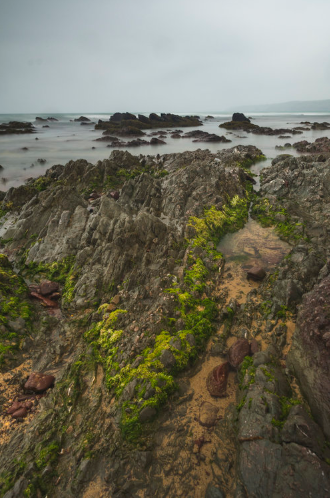
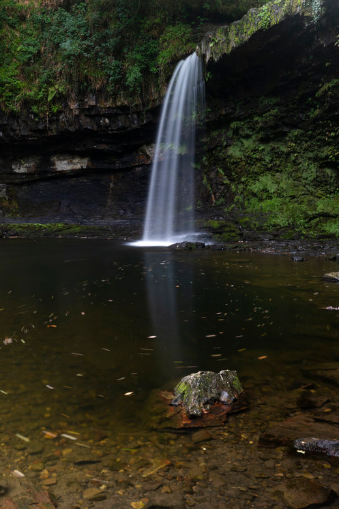
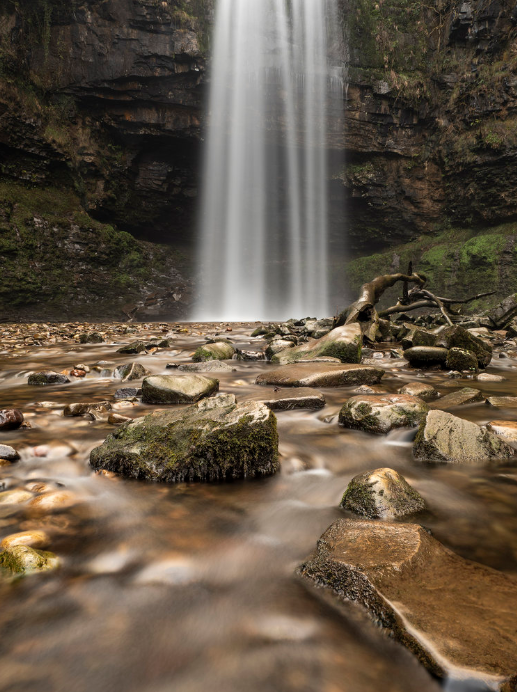
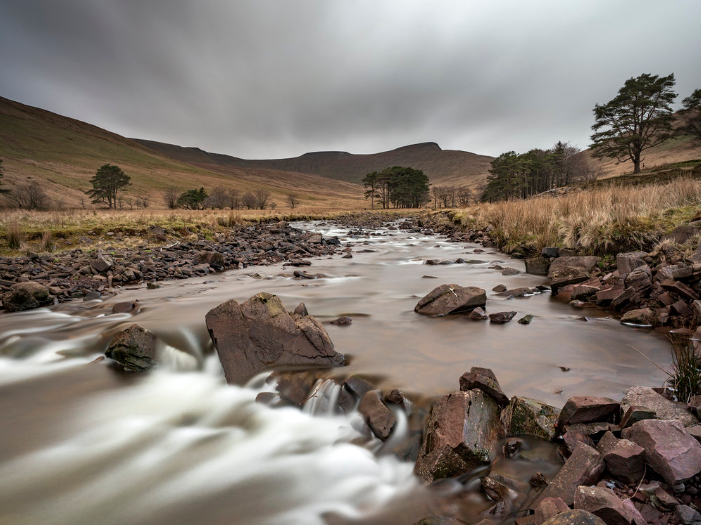
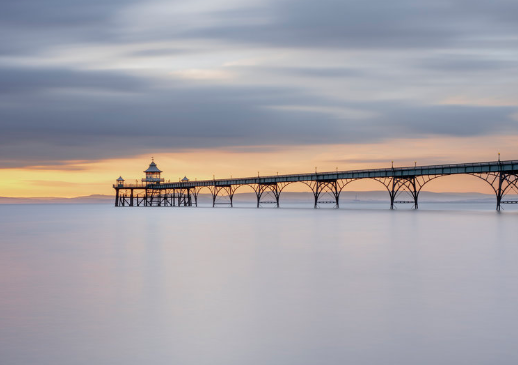
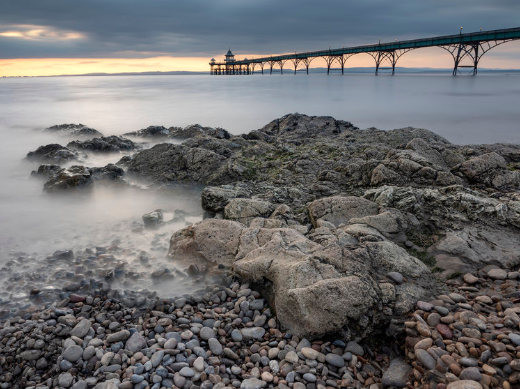
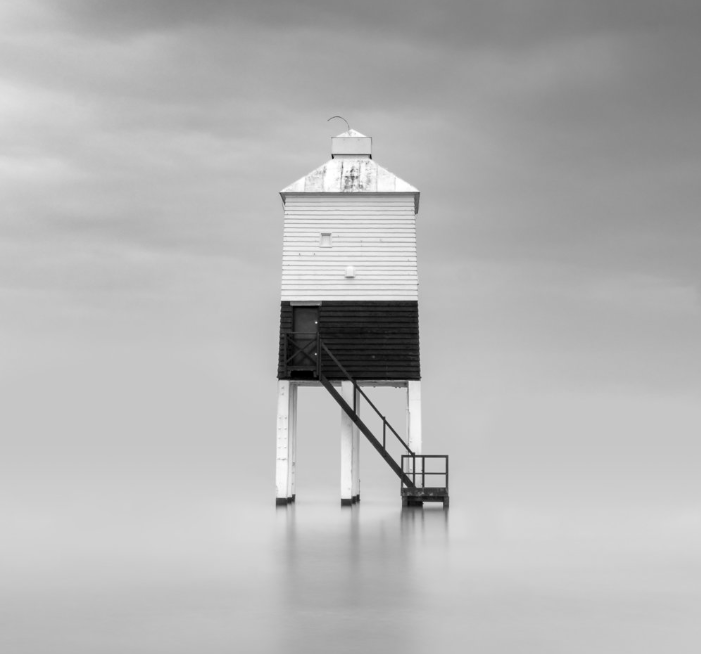
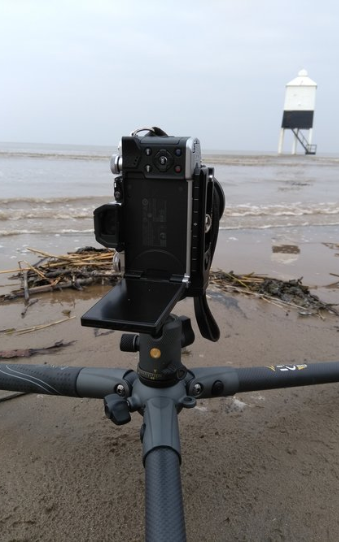
Photographers if you are interested in using a Variable density filter, you can use one and it can be quicker but I highly recommend not going passed half way and staying in the lower variables. These three photos below are all shot with a Variable density filter, between ND32-64. Why did I use a variable density in these situations? I broke my square filters when the fell in the river or forgot my adapter rings… Dumb mistakes I know.
LONG EXPOSURES USING THE KASE VARIABLE DENSITY FILTER


FOLLOW THE PHOTOGRAPHER MATT HOLLAND BY:
Scan the QR code to read on your phone


