Detail
[review]How to photograph Sun Rays the Easy Way by Rafn Sig Photogaphy
- Categories:News
- Author:
- Origin:
- Time of issue:2019-04-23 02:00
- Views:
(Summary description)
[review]How to photograph Sun Rays the Easy Way by Rafn Sig Photogaphy
(Summary description)
- Categories:News
- Author:
- Origin:
- Time of issue:2019-04-23 02:00
- Views:
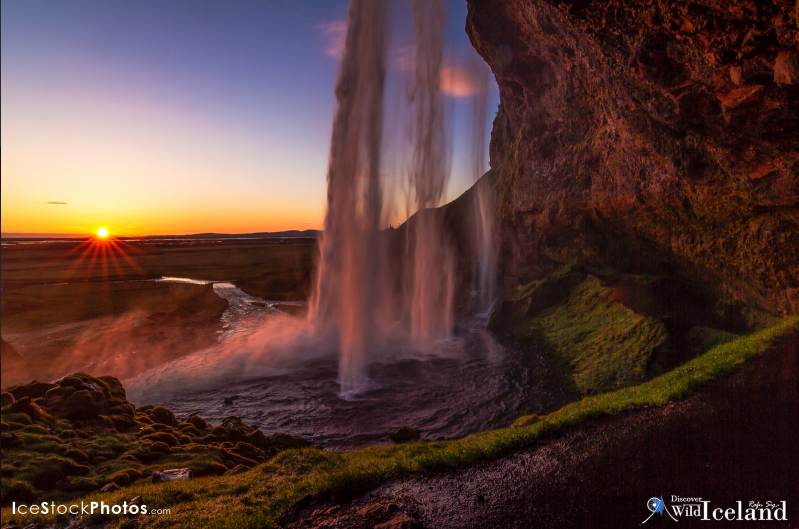
Warning*-As you know, the Sun is strong, so you should never look directly to it without proper eye protections as it can damage your eyes.
You can shoot Sun Rays any time of the day the only difference is the color of the shot, surroundings, distance between the sun
and the earth and so on. So there are no rules about that, just go out there and experiment and find out what you like.
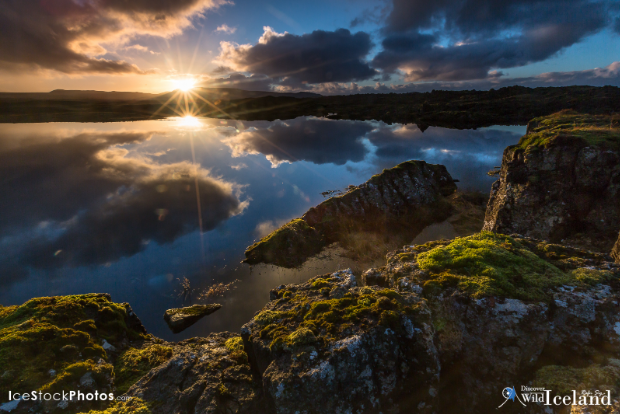
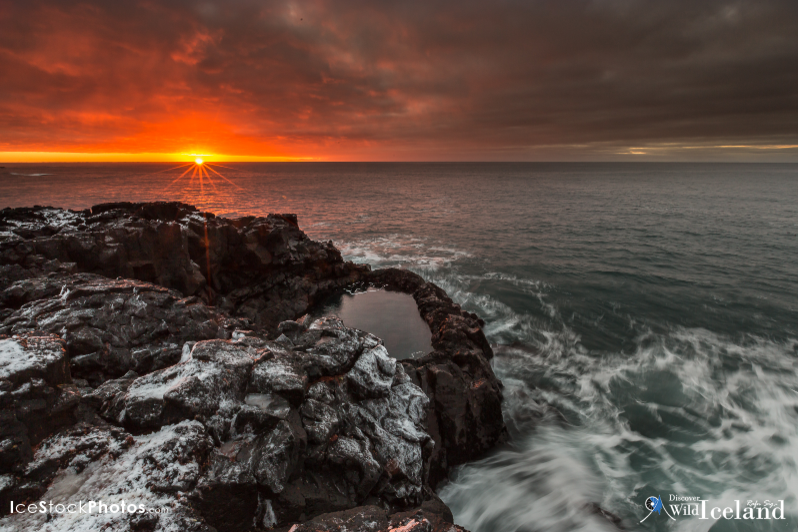
I personally like to photograph the Sun Rays in the morning or evening twilight as the sky is more colorful and it‘s nice to
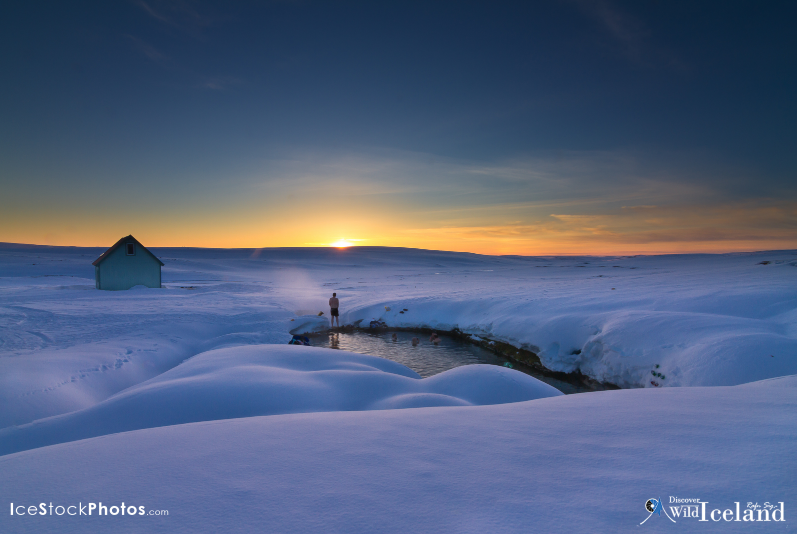
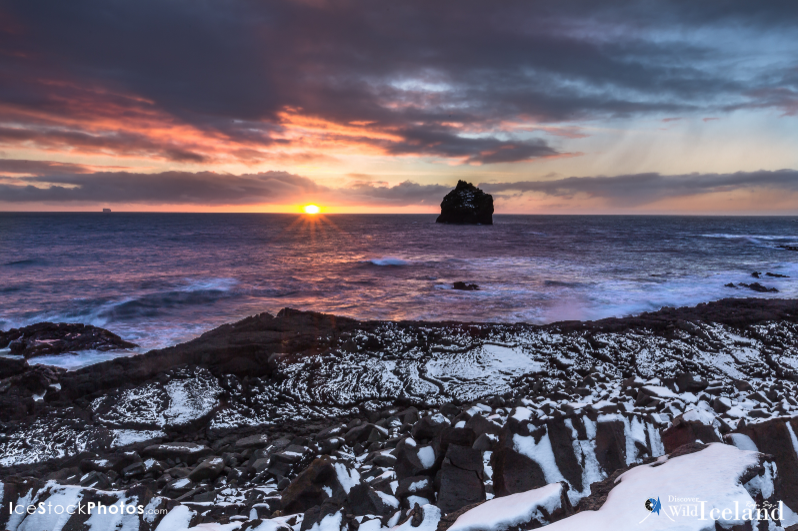
have only half of the Sun in the picture (when it’s peeking over the horizon). It gives the shot a special effect.
Plan
Find your right place for your shot and be there at least half to one hour before sunrise and get yourself in place.
It’s always good to be ready when you start shooting so you know that the gear is functioning right.
Find the time of the sunrise or sunset.
Check the weather. If it’s cloudy – Stay home as there will be no sun.
Like I mentioned before, it’s nice to shoot in the golden hour, when the Sun is close to the horizon as the sunlight
comes in at a different angle. This creates a warmer, golden color, whereas during midday, there is a cooler (bluish)
or more neutral color. The blue hour is a darker and different stage of twilight where the blue light dominates. You
should try to shoot during different times of day so you know the difference. If you can find a place where you have
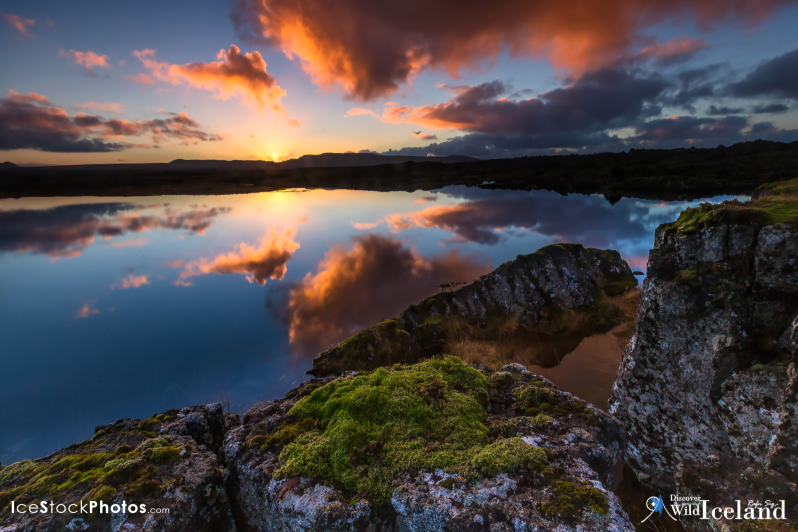
a Lake, or if you can be near to the ocean, you could get a nice reflection to the shot which will pop up the image.
Small clouds in the sky, early morning mist or even fog can add nice touch to the landscape and sometimes it adds
a little mystery or a nice reflection to the shot.
Use the rule of third so the image will look more professional.
Camera:
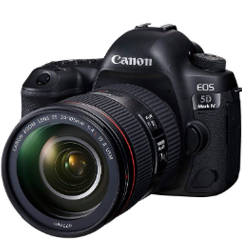
I recommend a DSLR Camera.
Today I’m using Canon EOS 5D MK IV but I have been taking shots of sun rays since I had EOS 300D and it worked quite well.
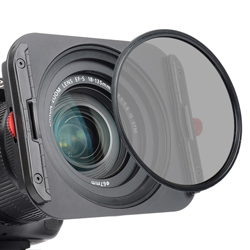
Filters:
UV filters:
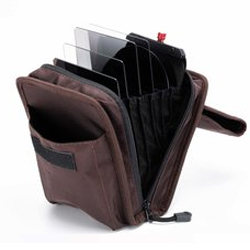
You will be shooting towards the strong sunlight and it is believed that they will protect your sensor. There are
many brands on the marked nowadays and the prices are getting reasonable. I started out with LEE filters as
they were the best ones you could get for about ten years ago. Since then, technology has been discarded and
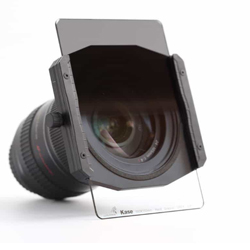
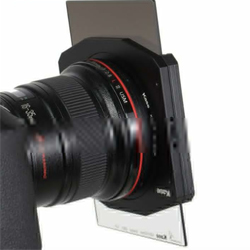
new filters have emerged. After testing several types of filters, I came to the conclusion that Kase filters are
best suited for me and give me the most natural color scheme. They are easy to set up and it doesn’t hurt
that if you drop them into the ground they will not break or scratch easily. It is a very big advantage because
sometimes there can be accidents in the dark or on a windy days. Another advantage is that it is very simple
to wipe the dew off the glass, unlike the LEE filters. Later I will write an article on these two filters
Polarizing filter:
They will give you different color effects as you rotate them and decrease the unwanted reflection
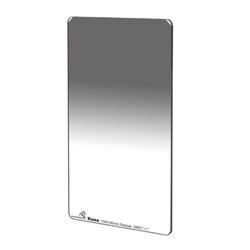
Graduated neutral density filter:
They are darker on the top and become lighter on the bottom.
They prevent the blow-out in the sky as there is so much difference of light between the sky and the ground.
Revers Graduated neutral density filter:
They are darker in the middle and become lighter on the top. They prevent the blow-out when the sun
comes out from behind the horizon or the mountain. I use it often with really good result
Tripod:
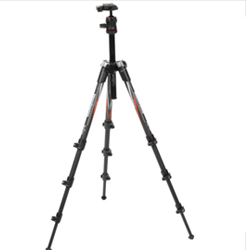
Tripod is a must.
Using a tripod will let your camera stay steady and your photo look sharp and the sun rays crispy.
You will face a problem if you are hand-holding your camera, there is much more chance of camera shake.
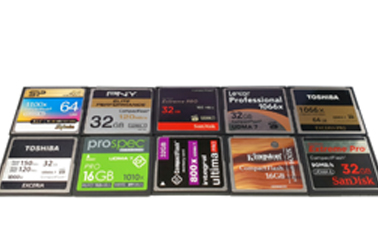
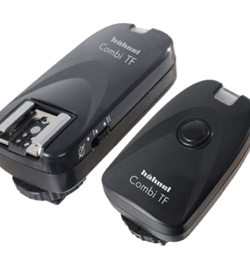
Remote / Shutter:
Also it’s a must to have. Use your timer (your camera’s self-timer), a shutter with a cord, or a remote without a cord to minimize camera shake.
Focus:
I focus near the Sun, not into the Sun so it should not be a problem. Also you can manual focus if you are good at it.
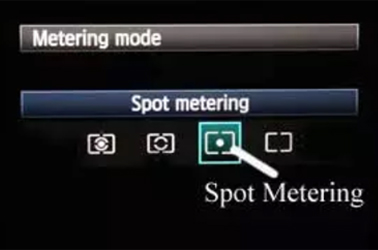
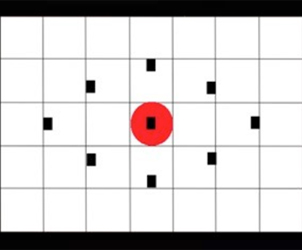
Metering:
It’s a good choice to us the Spot Metering. it handles bright light really well. If your camera does not have spot Metering,
then Partial Metering would be your next best choice. I use auto focus, with the focus point set a little bit aside the Sun.
High resolution:
I always use RAW. It’s an uncompressed format and holds all the information’s in the photo, so the after-work is easy.
Take more than one shot.
Light
Remember to take a good Flashlight or Head light as it will be dark on the location. I’m using Head light because I need my hands to be free.
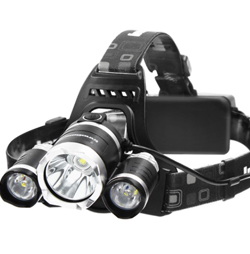
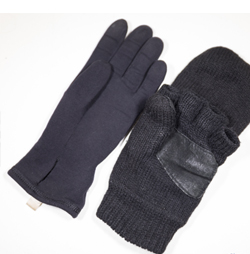
Enjoy what you are doing, even its cold outside.
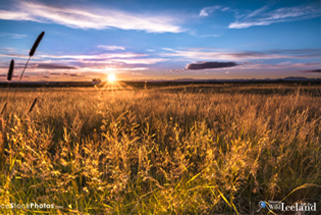
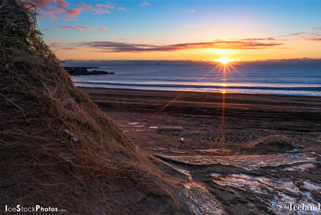
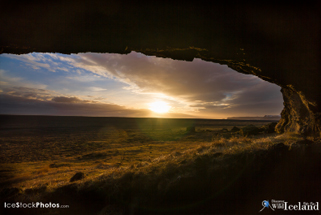
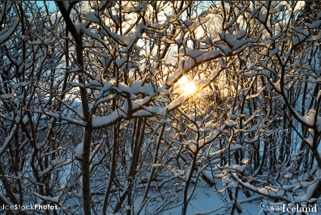
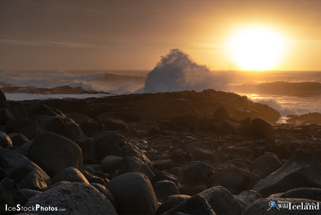
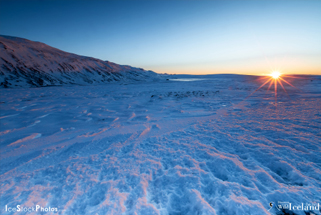
Lets Do it:
Let’s start by putting the ISO to 100 (lowest grain in your photo)
I usually put my camera to Aperture Priority Mode (AV on a Canon). This way, I’m able to switch
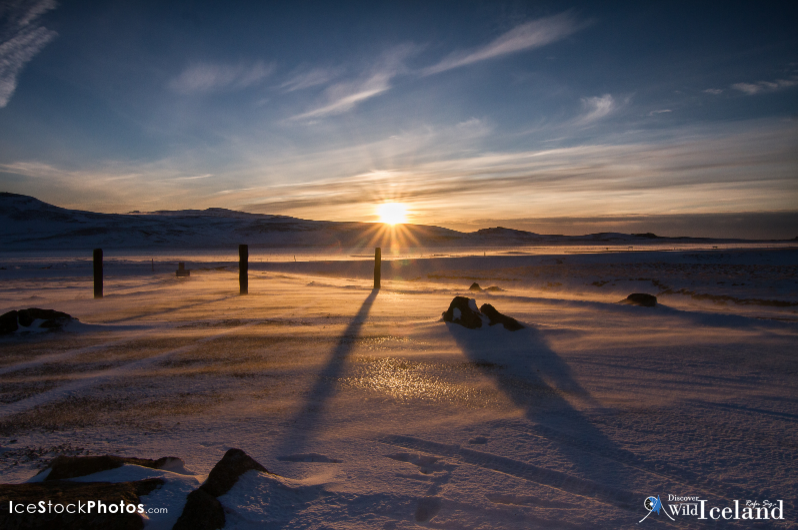
the aperture setting faster to get different Sun Rays. Open aperture, like f/5.6, will give you soft
spread Sun Rays and small aperture, like f/22, will give you stronger, more defined Rays.
One thing you have to know is that small aperture requires more time to take the photo. The longer
time it takes, the more chance there is for camera shake. So use tripod to avoid that.
Different apertures will give you a variety of images to choose from when you’re editing. Play with
the aperture, just to see the difference when you come home and find out what settings and
ombination you like and what kind of effect you want in your photo. One important thing you should
keep in mind is not to overexpose the image if possible. If that happens the pixels have become pure
white and there is no way to recover any detail information from them. In some part of the Sun it will
be but try to keep it as little as possible. That’s why it’s good to use the filters as described earlier.
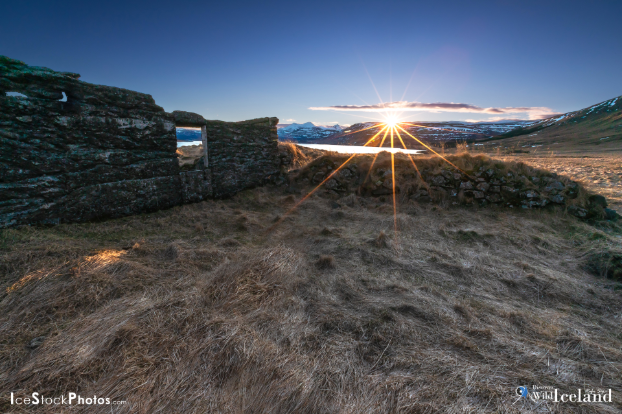
Extra Tips:
When you are at the location, just take your time. Take test shots, move around and find
the right compositio and make shure ewerything is in order I recoment that you should
use the rule of third where you place your objest off-center either a third or two-thirds
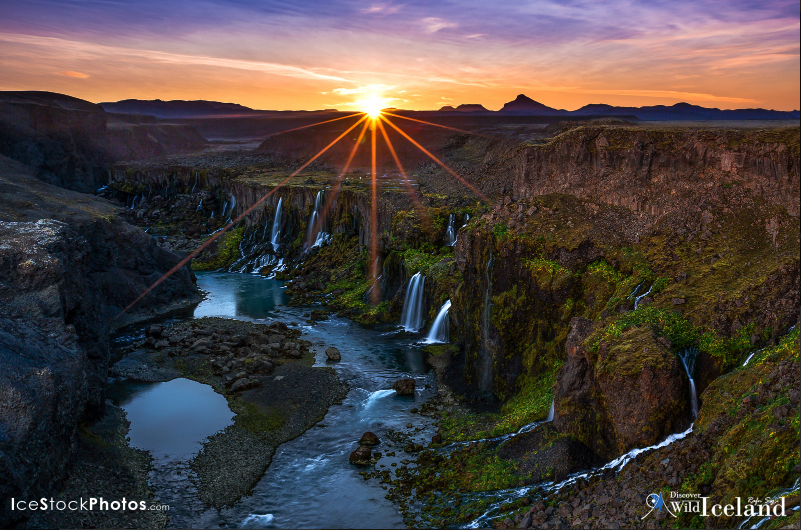
into the image. It’s also nice to find a good foreground like lake, river, waterfall or just
a nice stone so you get more 3D effect in your shot, it will make your shot look more professional.
There is also another comon trick to use, mountain, tree or what ewer to partially hide the sun.
This will allow you to capture different rays, or it could put the rays in just the right spot, and
create exactly the look you want. This all will add an artistic touch to the object you’re shooting.
Take lot of pictures while you are at it with different Aperture, so you will see all the different
shapes of the flares. From sharp to smoothe. Use the Aperatures from 22 to 5,6 or 2,8.
Afterwork:
Edit your images just as you like.
It is your photo and you can do with it what ewer you like. You can crop, add contrast, tweak colors
and so much more in some processing software online or bought, to get the tuch you are looking for.
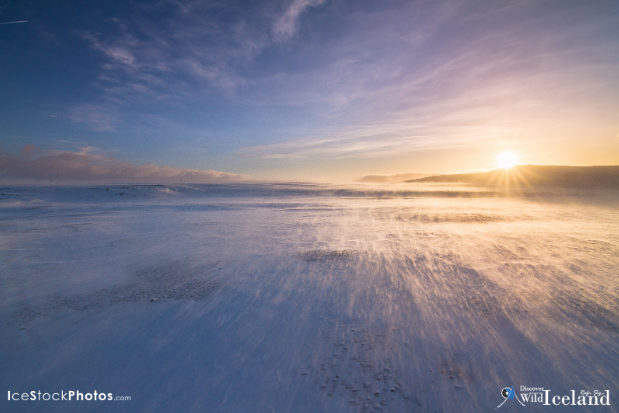
Good luck and remember that sometimes the best picture is behind you
How to follow the photogaphy by:
Personal website: http://islandsmyndir.is/
Scan the QR code to read on your phone


